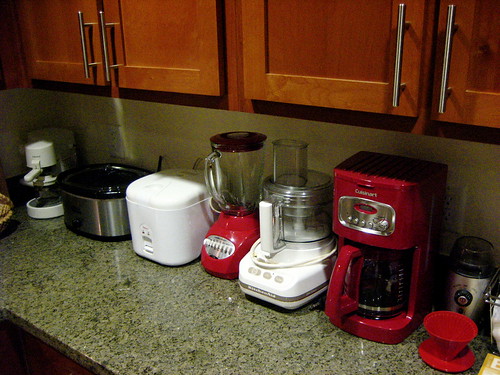
Repainting is an inexpensive way to modernize a dated appliance or to coordinate the colors of your appliances with your kitchen's color scheme. It is a relatively easy process. Here's how to use appliance paint to give your kitchen or laundry room appliances a new look.
1. Choose the right paint. Be sure to purchase appliance paint especially formulated to paint household appliances such as refrigerators, washing machines, microwaves, and dishwashers. These paints are not for use on or near surfaces that get hot, such as stove tops. For those surfaces, be sure to purchase a heat-resistant paint. Also there are specialty appliance paints for resurfacing the inside of a microwave.
Appliance paint comes in brush-on and spray-on versions. Spray-on paint is best if you are planning to repaint the entire appliance, while brush-on paint is preferable it you are touching up chips or dents.
At the same time you purchase your paint, buy any other equipment you will need such as spray paint applicators, brushes, tarps, masking tape. And don't forget safety equipment, such as gloves, masks and goggles. You can purchase appliance paint at most hardware or home improvement stores.
2. Read the instructions for the appliance paint you've chosen carefully before starting your project.
3. Unplug the appliance and move it to a well-ventilated area. A garage or outdoors is ideal, but if you have to paint the appliance indoors, be sure that it is in an area where you can open windows or doors. Wherever you plan to paint it, there should be plenty of room around the appliance so that you can move freely and easily access all surfaces. Place the appliance on a tarp or on newspaper to protect the floor.
4. Clean all appliance surfaces well with soap and water to remove dirt, grease and dust. If there is any rust on the surface, remove it and treat the area with a rust deterrent product. Be sure the appliance is completely dry before you start to paint.
5. Use masking tape to cover any parts of the appliance that you do not want to paint.
6. If you are using spray paint, apply the paint with a fluid, sweeping motion. You might start with a light mist of paint that barely covers the entire surface, followed by a second, even layer on top of this base. Let the paint dry thoroughly, then apply a second coat if desired.
If your appliance just needs a touch up not an entire facelift you can use appliance paint to cover scratches, chips or worn areas. The process is similar to painting the entire surface. Be sure to clean the area to be painted thoroughly, apply a thin layer of paint, let it dry thoroughly then paint again if necessary.
Sources:
www.wisegeek.com, What is Appliance Paint?
homeimprovement.lovetoknow.com, How to Use Appliance Paint - LoveToKnow HomeImprovement
appliance repair
appliance repair
appliance repair
appliance repair
appliance repair
appliance repair
appliance repair
appliance repair
appliance repair
appliance repair
appliance repair
appliance repair
appliance repair
appliance repair
appliance repair
appliance repair
appliance repair
appliance repair
appliance repair
appliance repair
appliance repair
appliance repair
appliance repair
appliance repair
appliance repair
appliance repair
appliance repair
appliance repair
appliance repair
appliance repair
appliance repair
appliance repair
appliance repair
appliance repair
appliance repair
appliance repair
appliance repair
appliance repair
appliance repair
appliance repair
appliance repair
appliance repair
appliance repair
appliance repair
appliance repair
appliance repair
appliance repair
appliance repair
appliance repair
appliance repair
appliance repair
appliance repair
appliance repair
appliance repair
appliance repair
appliance repair
appliance repair
appliance repair
appliance repair
appliance repair
appliance repair
appliance repair
appliance repair
appliance repair
appliance repair
appliance repair
appliance repair
appliance repair
appliance repair
appliance repair
appliance repair
appliance repair
appliance repair
appliance repair
appliance repair
appliance repair
appliance repair
appliance repair
appliance repair
appliance repair
appliance repair
appliance repair
appliance repair
appliance repair
appliance repair
![Appliances new home [14] by Ken Kuhl](http://farm3.staticflickr.com/2245/2196702811_58da87eefe.jpg)
